
v3 beta
Install the plugin and start an Ultra HDR export
Add ExportHDR.lrplugin in Lightroom Classic, turn on HDR, then open Export with Export To set to ULTRA HDR. In the editor, slice a wide panorama into 3:4 gallery frames and upload those JPEGs with Original aspect and no filters.
Install the plugin
Download the macOS package, add the plugin bundle, and clear the quarantine on the packer if Gatekeeper blocks it.
Steps 1–6-
Download the plugin
On the v3 page, choose Download for macOS. Unzip the archive so ExportHDR.lrplugin sits next to the zip. Lightroom adds the bundle, and the zip stays an archive.
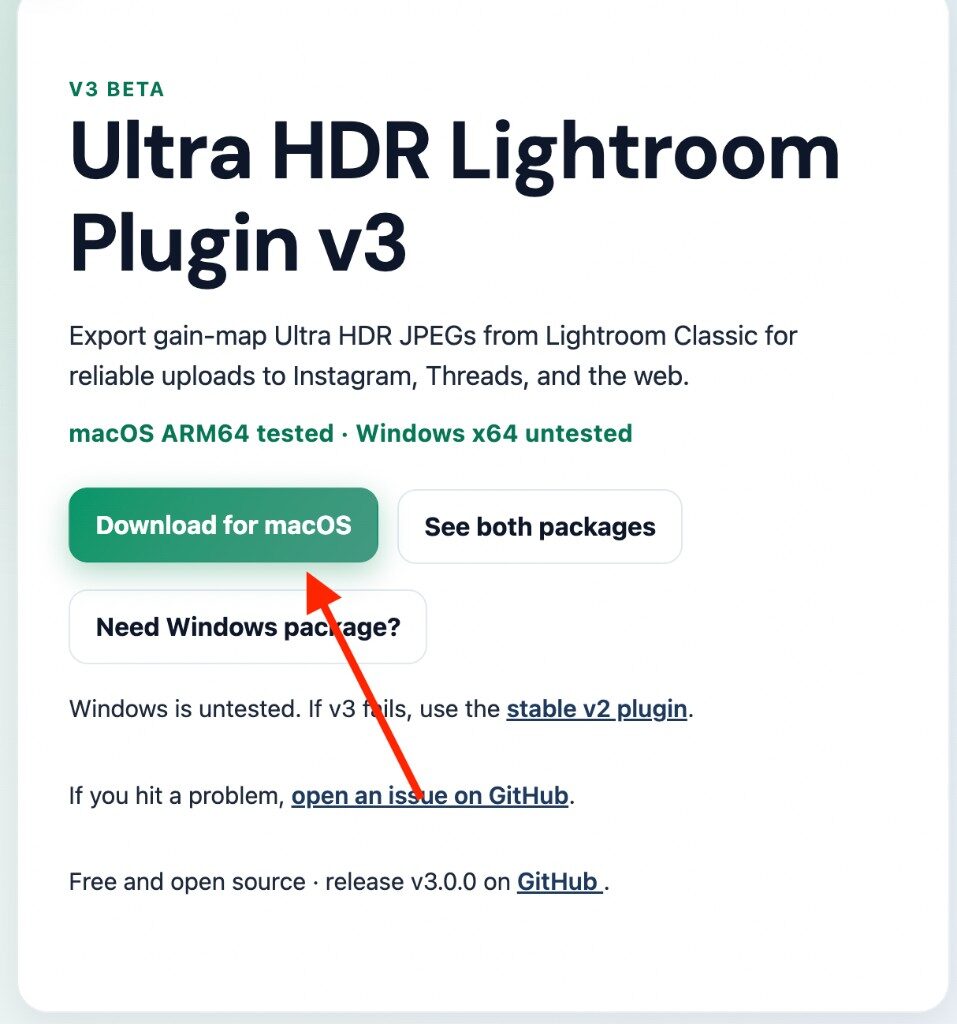
Download the macOS package, then unzip it. -
Open Plug-in Manager
In Lightroom Classic, go to File → Plug-in Manager… (macOS shortcut: Option-Shift-Command-Comma).
![Lightroom Classic File menu with Plug-in Manager highlighted]()
Open Plug-in Manager from the File menu. -
Click Add
At the bottom of the plug-in list, click Add.
![Lightroom Plug-in Manager with the Add button highlighted]()
Add opens the file dialog for the plugin bundle. -
Add the bundle, not the zip
Select ExportHDR.lrplugin and click Add Plug-in. The zip in the same folder is the download archive; Lightroom loads the bundle beside it.
![macOS file dialog with ExportHDR.lrplugin selected and Add Plug-in highlighted]()
Select the .lrplugin bundle, then Add Plug-in. -
Confirm the plugin is running
Select Ultra HDR Export. Status should read installed and running, with version 3.0.0.0. Enable stays greyed out when the plugin is already on. Click Done.
![Plug-in Manager showing Ultra HDR Export version 3 installed and running, with Done highlighted]()
Ultra HDR Export is installed and running. Close the manager with Done. -
If macOS blocks uhdr_repack
The first time the plugin runs its packer, macOS may say “uhdr_repack” Not Opened because the binary still has the download quarantine. Leave the file where it is and clear that attribute in Terminal:
sudo xattr -d com.apple.quarantine /path/to/ExportHDR.lrplugin/bin/uhdr_repackReplace /path/to/ExportHDR.lrplugin with the folder where your copy of the plugin lives. That removes the quarantine attribute from the packer so the plugin can launch it on export.
![macOS dialog saying uhdr_repack was not opened because Apple could not verify it]()
Gatekeeper blocks the packer until the quarantine attribute is removed. Click Done on the warning. Move to Bin deletes the packer, and the plugin cannot finish an export without it.


Prepare the photo in Develop
Turn HDR on so the export has an HDR source to build the gain map from.
Step 7-
Turn on HDR
In the Develop module, open the Basic panel and click HDR. HDR Limit and SDR Rendition Settings stay under the tone controls. They set how far the highlights run and how the SDR base is derived before export.
![Lightroom Develop Basic panel with the HDR button highlighted]()
HDR in Basic turns the photo into an HDR edit.

Start the Ultra HDR export
Open Export and set the destination to ULTRA HDR. In the editor, pick 3:4 GRID, drag the frames into place, then encode one JPEG per slide.
Steps 8–12-
Open Export
Right-click the photo and choose Export…, or use File → Export….
![Lightroom photo menu with Export highlighted]()
Export… opens the export dialog. -
Set Export To → ULTRA HDR
At the top of the dialog, set Export To to ULTRA HDR. That destination exports SDR JPEGs, then opens the Ultra HDR editor. Lightroom renders an HDR TIFF per photo when you preview Gain/HDR or run Encode. File settings in this dialog (JPEG quality, size, metadata) are the SDR base; the gain map is built in the editor that opens next.
![Lightroom Export dialog with Export To set to ULTRA HDR]()
ULTRA HDR is the export destination. Export opens the editor after the SDR JPEG is written. -
Choose 3:4 GRID
In the editor, under Feed crop, select 3:4 GRID (2160×2880). Encode then slices a wide panorama into vertical 3:4 frames and keeps that crop.
![Ultra HDR editor with the 3:4 GRID feed crop selected]()
3:4 GRID is the vertical gallery crop. -
Place the frames
Set the gallery count to the number of matching slides the photo can hold. Here that is 3: “Fits 3 matching 3:4 slides.” Width and height stay 2160×2880. Click a frame and drag it to move which part of the panorama lands in that slide. Do not add frames the photo cannot hold.
![Ultra HDR editor with gallery count 3 selected for a 3:4 panorama]()
Gallery count 3 splits the panorama into three 3:4 slides. ![Ultra HDR editor with an arrow on the orange crop frames of a panorama]()
Click a frame and drag it to reposition that slide’s crop. -
Encode the slides
Click Encode 1 photo. The plugin writes one Ultra HDR JPEG per slide next to the source file: DSC05954-Pano_3x4_01.jpg, _02.jpg, and _03.jpg. Those three files are the Instagram gallery.
![Ultra HDR editor with Encode 1 photo and the destination folder]()
Encode writes the slides into the destination folder. ![Finder listing DSC05954-Pano and three 3x4 slice JPEGs]()
Each 3x4 file is one gallery slide.


Upload the gallery to Instagram
Keep Original size. Skip filters and other photo edits so the HDR container stays intact.
Step 13-
Upload with Original, and no filters
Create a post and select the three slice JPEGs. On the crop screen (Обрезать), choose Оригинал / Original. Leave 1:1, 4:5, and 16:9 off so Instagram keeps the 3:4 frame you encoded. Do not apply filters or any other photo edit on upload. Those edits rebuild the file and the HDR image breaks.
![Instagram crop screen with Original aspect selected]()
Original keeps the encoded 3:4 frame. Between upload steps the Instagram preview can look like SDR. That is the in-between preview. The published gallery is still HDR.

Ready to install?
Download the v3 beta, or combine an HDR TIFF and an SDR JPEG in the browser converter.